
Verifying Medical Device Result Printouts Against Stored Records
Verify medical device result printouts against stored records by testing field omissions, page breaks, and paper-out recovery before accepting the print function.

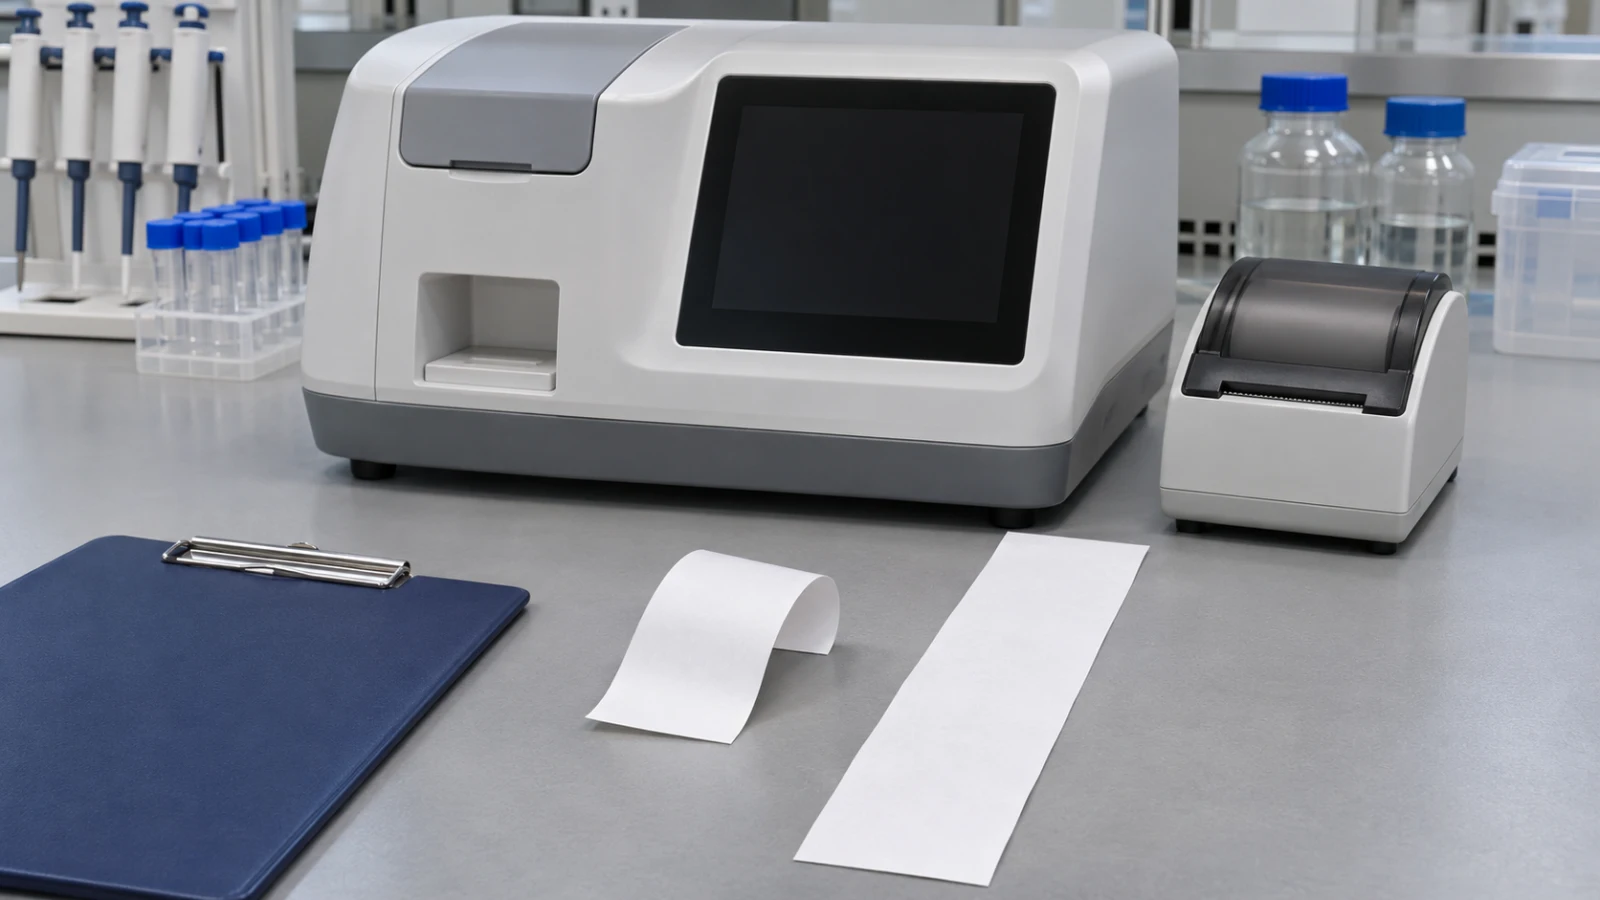
Start with a known synthetic result in device history. Use the approved print requirements for the selected template, printer, and configuration to write down what should appear on paper. Then compare the physical report with that expectation field by field and page by page. Check that each page belongs to the right result and that any formatting differences are permitted. Test paper-out before and during a job separately. For each interruption, verify the specified indication and recovery, check the stored result again, and assess the incomplete copy against the approved controls for recognizing or handling it.
Define what belongs on the paper report
A report can look complete even when an identifier is clipped, a comment is missing, or the last page never prints. The verification question is whether the paper an intended user receives contains the required information in the right place and can be linked to the correct stored record. The same fixture can support several checks, but its expected output depends on the print path and active settings.
The FDA’s June 2023 final guidance on premarket submissions for device software functions recommends traceable software requirements. Section VI.D lists printers as an interface example in footnote 51 and identifies fault handling and recovery as relevant software behavior in footnote 50. FDA issued these nonbinding recommendations before the revised Quality Management System Regulation took effect. For a print test, use the approved requirements to set the expected paper output before printing.
If the same result already has verification evidence for numeric equivalence across storage, display, and electronic export or character integrity across electronic interfaces, reuse the synthetic fixture where it meets the print requirements. Run the print test through the supported printer and media. The device software verification and validation guide explains how requirement-level tests fit into the broader verification record.
Establish the synthetic record and active print configuration
Every print-completeness test should anchor on a synthetic, non-patient stored record whose exact contents, metadata, and revision state are known before printing starts. Using live patient data in bench verification introduces privacy risk and non-reproducible edge cases; using controlled synthetic fixtures lets QA populate exact field lengths, special flags, and multi-line comments deliberately.
Document five baseline parameters before deriving the expected hard-copy layout:
Stored record identity and version. Capture the synthetic specimen or test ID and the stored fields. Record the history entry or revision where available and the device software build used to create or retrieve it.
Supported print path: distinguish immediate post-run printing from printing confirmed results recalled from stored history, as well as internal thermal or strip printers versus external page printers.
Active configuration profile: capture every device setting that toggles optional headers, operator IDs, quality-control fields, reference comments, units, or language/locale rules.
Template and media geometry: specify the paper width or page size (for example, narrow thermal roll versus letter/A4 sheet), character-per-line limit, margins, and firmware or printer driver version.
Expected field inventory: list every identifier, result field, unit, flag, comment, and page-tracking element required by the Software Requirements Specification (SRS) for that configuration.
Separate approved omissions from silent defects
The field list can depend on configuration. Roche’s December 2021 Canadian English cobas b 101 Operator’s Manual (version 2.1, software 2.0) illustrates patient result output and external printing on pages 107–109. Page 137 describes printing confirmed patient or control results from history and says the instrument configuration determines what the printout includes.
Put a rule beside each field in the expected report. For example, an optional comment may be absent when its approved setting is off. The same populated comment may have to wrap in full when the setting is on. Confirm which profile was active before assessing the paper. Use the cobas b 101 manual as an example of a configuration-dependent workflow and derive the field rules for your own device from its approved requirements.
Check the physical artifact against the stored result
Compare the paper with the expected report derived from the stored fixture. Use the display and printer status as supporting observations. A printer acknowledgment may show that a job was accepted while leaving the sheet’s actual contents unverified.
Why screen checks and printer acknowledgments are insufficient
The FDA’s Class 2 recall record Z-0311-2012 for the Roche Cobas c111 Analyzer records a correction initiated October 18, 2011 and terminated February 21, 2013. FDA described a potential printer malfunction that could drop characters anywhere in a hard-copy result or alter its layout. FDA identified software design as the cause and recorded the firm’s request at the time to compare the paper with the display.
Roche’s October 4, 2011 Urgent Field Safety Notice FSN RPD_2011_08, hosted by Germany’s Federal Institute for Drugs and Medical Devices, describes the same cobas c 111 episode. Roche reported that characters could be missing within values, units, or other text and that skipped blanks could change the layout. The notice identified the device display and specific host and printer-tool transfers as unaffected paths.
Compare the entire field. Use distinguishable characters at the start, middle, and end of a synthetic field. A check of the first and last character alone can miss an internal omission.
Check the label and position. Confirm that each value still lines up with its own label and unit. Record a shifted or clipped field as it appears on the paper so the discrepancy can be reproduced.
The correction documents a historical hard-copy failure on the cobas c 111. The configuration example above comes from a different model, the cobas b 101.
Four dimensions to reconcile on every physical test sheet
When a verification engineer holds the physical printout next to the independently derived expected report, four checks convert subjective visual inspection into objective verification:
Field presence against the configuration manifest: account for each identifier, result row, unit, flag, comment, and page element using the approved field-presence rules for the active configuration and the values populated in the fixture.
Character-by-character value and unit integrity: inspect leading digits, interior digits, decimal separators, units, and qualitative flags across the full field width, rather than checking only the first or last line.
Physical legibility and layout geometry: verify that line wraps, column breaks, skipped blanks, or margin bounds do not shift values under the wrong column header or clip glyphs near the printable edge.
Record and page association: confirm that every page can be assigned to the correct stored record and that the rows appear in the required order. Check the specified page indicator, such as
Page X of Y, or completion marker wherever the layout calls for one.
Test omissions, page breaks, and paper exhaustion
Begin with a short intact control. Then vary the print condition deliberately so an omitted field, a page-break defect, and paper exhaustion have separate acceptance criteria. For a continuation test, use consecutive synthetic row identifiers around the boundary. For a paper-out test, specify when the fault should occur and what counts as a complete recovered report before the run.
Test matrix for synthetic stored results
These proposed cases use synthetic, non-patient fixtures and apply the system test documentation approach in Section VI.H of FDA's June 2023 guidance. The cases have yet to be run. The expected behaviors are examples for the stated setups. Before testing, record the actual field rules, device indications, and recovery steps from your software requirements specification (SRS) and risk analysis. Use the pagination case only for print paths that support multiple pages.
| Case ID & Scenario | Synthetic Stored Fixture & Precondition | Expected Physical Paper Output | Expected Device Status & Recovery | Primary Evidence to Capture | Objective Pass/Fail Criterion |
|---|---|---|---|---|---|
| PRT-01 Intact Control Baseline | Synthetic record SIM-REC-101 with standard-length ID, two analyte rows, units, normal flag, and short comment under default config. | Single complete sheet matching independent expected layout, all characters intact, clear end-of-report marker if specified. | Verify the specified normal completion behavior and compare the stored result with the baseline. | Dated scan/photo of full printout annotated with PRT-01, SW/driver rev, and fixture hash. | Pass when the paper, job status, and stored record checks match the specified baseline. Fail on a missing, illegible, or misassigned field or a mismatch in the other required observations. |
| PRT-02 Intentional Configuration Exclusion | Same synthetic record SIM-REC-101 with optional comment or secondary timestamp toggled OFF in approved config. | Configured-off field absent without leaving broken alignment, orphaned label, or corrupting adjacent required fields. | Normal completion for the approved profile. Verify any indication or logged status the requirements specify. | Config export/screenshot plus labeled printout comparing PRT-02 against PRT-01. | Pass when all required content is intact and omission of the optional field matches the approved profile. Fail when a required field drops or the omission breaks the specified layout. |
| PRT-03 Required Field at Layout Boundary | Synthetic record SIM-REC-102 populated to maximum SRS field width for sample ID, unit string, and multi-line comment. | Each field follows its specified print rule. If an optional comment may be shortened, verify the specified indicator and check that adjacent required fields still print legibly. | Verify the normal completion behavior specified for a supported input at its field-length limit. | High-resolution scan verifying first, middle, and final characters of boundary strings. | Pass when the identifier, unit, and comment each follow their approved print rule. Fail on silent loss of a required character or overlap that changes how a field reads. |
| PRT-04 Multi-Page Continuation & Association | Synthetic record SIM-REC-103 with distinguishable rows that span two sheets in the approved layout. | Verify row order and association with the stored record across both pages. In this fixture, A03 ends the first page and A04 begins the second. | Record the specified normal job status, including what the status represents if it indicates handoff to a printer. | All sheets labeled in print order (PRT-04 P1/P2) showing continuous row sequence. | Pass if every expected row appears once, in order and under the correct record. Fail for a missing, repeated, or misassociated row or page. |
| PRT-05 Paper-Out Before Job Initiation | Empty paper path (using approved test fixture or simulated sensor state) prior to requesting history print of SIM-REC-104. | For this setup, no sheet is produced before paper is restored. After the specified recovery, the printout matches the independent expectation for this record. | Check the specified paper-out indication and disposition of the first job. Restore media using the approved test procedure and follow the defined recovery, which may require a fresh request from history. | Status log or photo of the paper-out indication, the recovered printout, and confirmation that SIM-REC-104 is unchanged in history. | Pass when the indication, job disposition, stored result, and recovered report meet the specified outcomes. Fail when any required outcome differs. |
| PRT-06 Paper-Out Mid-Job & Partial-Artifact Check | Multi-page or long synthetic job SIM-REC-105 with low-paper fixture configured to exhaust media midway through output. | Evaluate any partial sheet beside the complete expected report. Check whether the specified completion cues and recovery workflow let the intended user identify and handle the incomplete copy. | Check the specified interruption status and job disposition, verify the stored record, and execute the approved recovery. A design may require a full reprint or a controlled resume. | Preserved partial sheet labeled PRT-06-PARTIAL, recovered sheet(s) labeled PRT-06-RECOVERED, and status log. | Pass when the incomplete copy meets the predefined risk-control criteria and the recovered set matches the expected report, including any specified repeated headers. Fail when any required recovery behavior or output criterion differs. |
For the boundary case, suppose the approved template must print the synthetic sample ID SIM-3Q7K9 in full at the longest supported layout. Paper showing SIM-37K9 fails even when it still looks like a valid identifier and the status shows successful handoff. Record the exact mismatch and its printed position. Use the device’s actual field-length rule when choosing the fixture.
Where the workflow can deliver reports from more than one stored result, repeat the pagination case with a second fixture that differs in both record identifier and a continuation-row marker. Compare the expected record association for every sheet, including any that are handled separately. A second page with the correct row count but the second fixture’s marker fails the first fixture’s test, even if the print job reports normal completion.
Evaluate paper-out detection, recovery policy, and partial-artifact risk
Interruption recovery requires separate scrutiny because printers behave differently depending on whether printing is driven by an internal thermal mechanism with a direct paper sensor or an external spooler over USB, serial, or network interfaces. Siemens Healthcare Diagnostics' CLINITEK Advantus Analyzer Operator's Guide (10718569 Rev. D) provides a documented manufacturer example: page 35 describes printing records from memory, and page 39 describes the analyzer detecting paper depletion in its internal printer and retaining results until the paper roll is replaced.
That behavior is documented for the CLINITEK Advantus internal printer. For the system under test, record whether the interrupted job should be held, canceled, or resumed and which status or user action the approved workflow requires. If recovery calls for a full reprint from history, check the fresh set for completeness and assess how the earlier fragment is handled. If recovery calls for resuming, compare the combined pages and examine the join for missing or repeated rows.
Use an approved bench fixture or a simulated printer condition. If the simulation exercises the status path without producing a paper fragment, record that scope and use an approved physical case to obtain any artifact evidence required by the protocol. Compare the recovered paper with the expected report for the original record, then compare the stored identifiers and relevant result fields with their pre-test values.
Record an objective pass or fail
Section VI.H of the FDA device software guidance recommends a system-level test protocol and report under Basic Documentation. It calls for expected results derived from requirements, observed actual results, and an objective pass or fail determination. For Enhanced Documentation, FDA also recommends unit and integration test protocols and reports.
Record enough detail for another engineer to reproduce the case and trace the outcome to the requirement. The evidence below can support design review, a quality system audit, or a regression test.
| Evidence Log Column | What QA Must Record | What the record establishes |
|---|---|---|
| Requirement & Risk Control IDs | Exact SRS print requirement ID, fault-handling requirement ID, and risk control reference (for example, partial-printout mitigation). | Links the case and its outcome to the applicable requirement and any risk control under test. |
| Fixture & Stored Record Ref | Record the synthetic fixture ID, stored record key or revision if available, and a reference to the retained pre-print values. Add a checksum if the protocol uses one to verify the fixture. | Makes the exact inputs available to reproduce the test. The checksum can verify the identity of a retained fixture. |
| Software & Printer Revisions | Device firmware/application version, OS/print spooler version, printer model, printer firmware, and driver ID. | Identifies the setup that was verified, including components that can affect layout or job handling. |
| Print Mode & Active Config | Immediate run print vs. history reprint, active template ID, locale, paper format, and toggled field settings. | Separates intentional configuration exclusions from unintended field drops. |
| Independent Expected Output & Status | Pre-test expected text/field checklist, expected page count, expected fault alert, and expected recovery behavior. | Eliminates post-hoc rationalization of missing fields or missing pages after viewing the paper. |
| Observed Paper & Status Artifacts | Keep the original paper or a scan that preserves the layout. Identify the case and stage, and record the observed device indications. | Preserves objective visual proof of legibility, character integrity, and partial-artifact appearance. |
| Recovery & Source-Record Check | Record the recovery action and its observed outcome. Compare the relevant stored fields with the baseline and record whether they match. | Shows whether this case recovered the intended report and preserved the checked fields of the source record. |
| Anomaly & Pass/Fail Determination | Record the objective pass or fail decision, explain any discrepancy, and reference the applicable anomaly record. | Makes the result and the basis for its disposition traceable. |
Preserve partial vs. recovered copies and plan regression scope
Capture the interrupted sheet before adding any test marks that could obscure its original appearance or act as a completion cue the device never supplied. Keep that image and a separately identified copy of the recovered output under the same case ID. For example, identify the evidence as PRT-06-PARTIAL and PRT-06-RECOVERED. This preserves what the user would have seen at each stage.
Use regression impact analysis to select affected configurations after a change in the report template, formatting code, fonts, printer, driver, media, or recovery policy. For example, after a change to a template margin, repeat the field-width and pagination cases for the affected layout. If print requirements leave an important outcome undefined or a required observation is missing, record the gap and resolve it before closing the case.
Scope of the test evidence
This worksheet is a proposed bench method based on document review. The synthetic cases are unexecuted. Use non-patient fixtures and the approved risk analysis and requirements to set the scope, acceptance criteria, and recovery behavior for each supported print path.